As I mentioned in a previous post about what clothing I took on Kilimanjaro, the packing list I was provided from the company I booked through was not sufficient and did not actually cover everything I needed. It also included some stuff I did not need. In this post, I will cover which items were provided by the trekking company we used as well as which additional items I brought from home.
My entire Lighterpack gear list can be found HERE. This post will focus specifically on hiking and camping gear. If you’re looking for a clothing list, you can find that HERE.
Disclaimer: some links are affiliate links. These are products I used and loved and I am recommending them in good faith. Purchasing through my links helps fund adventures and the creation of content like this, which takes hours of time to produce.
Hiking Gear
It is important to note that trekking Kilimanjaro, for most people, is NOT a backpacking trip. Instead, it can be considered day hiking from camp to camp. You need most of the gear you would normally need on any other day hike. Below is a list of gear I carried each day:
- Daypack
- Hydration Kit
- Headlamp
- 1L Water Bottle— Soft
- 1L Water Bottle — Hard
- 500mL Water Bottle
- Water Filter (unnecessary — more later)
- Hiking Poles
- Chapstick WITH SUNSCREEN
- Sunscreen
- Sunglasses
Field note: when choosing a sunscreen, I recommend choosing either a lotion, stick, or roll-on. Compressed air "spray on" sunscreen may decompress at higher altitude and become useless. Don't forget to apply sunscreen to your hands and fingernails! I did not know you could get sunburn underneath your fingernails, but I did and it was miserable.

Camping Gear
The company I booked my trip through provided double occupancy tents and foam sleeping pads. These items were included in the cost of the trip. I opted for a single-occupancy tent (this was available as an add-on) and I brought my own inflatable sleeping pad to use in addition to the foam pad they provided. The tent and pad provided by the company are not represented on my gear list. Most trekking companies/operators will supply at minimum these two items. In addition, I brought the following items for camping:
- Insulated Sleeping Pad
- 0 Degree Quilt
- Pillow
- Fleece quilt liner

A few notes about gear:
Sleeping pads
The company-supplied foam mats were not adequately cushioned/supportive for me as a side sleeper. As an alternative to these, the company offered an upgrade to a “self inflating” sleeping pad. I knew from experience that this, too, would not be comfortable for me. My group did the 7-day Machame route and I knew that if I did not sleep well, I would not perform well on the mountain. I opted to use both the company-supplied foam mat and additionally to bring my own insulated inflatable sleeping pad. If you are not a finicky sleeper, or are a back or stomach sleeper, you may be able to get by with the thin mats most operators supply. Most of the women in my group either opted for the upgraded pad or brought their own, and those who didn’t were vocal about not sleeping well. If you bring your own pad, just be sure it has an appropriate R-value. The one I used has an R-value of 4.2 and, with the foam mat beneath it, I found that to be sufficient.
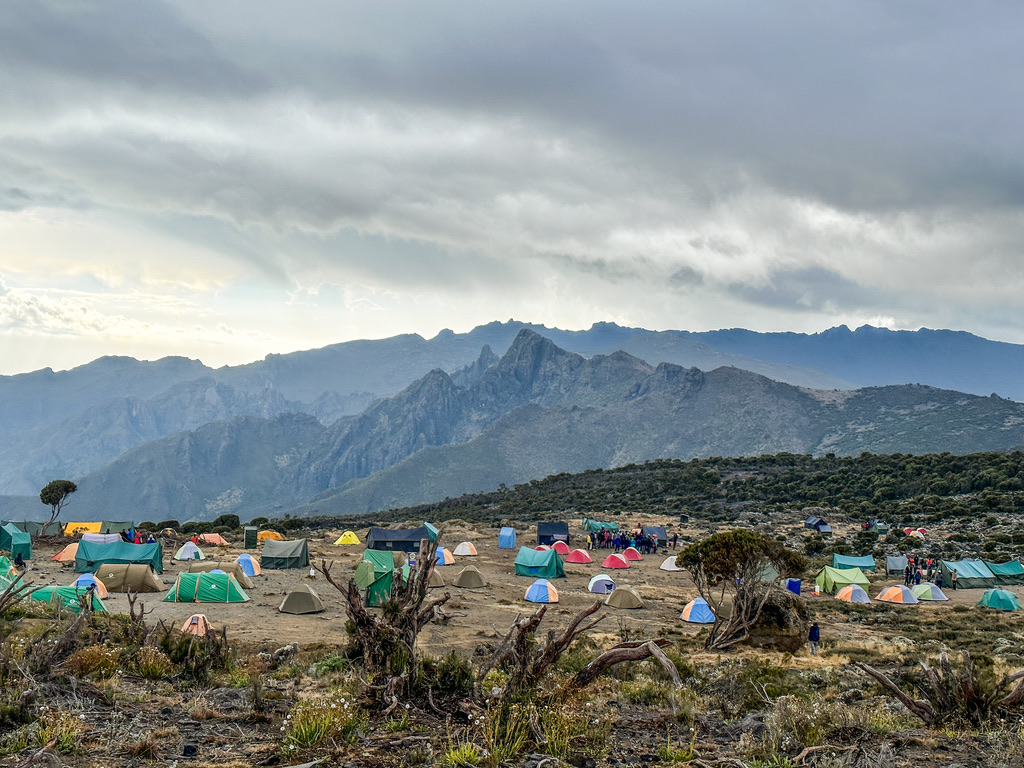
Tents
The company also provided tents. Double-occupancy tents were included in the cost of the trip. About half of my group stuck with the double-occupancy and the rest of us upgraded to single occupancy. I am SO GLAD I had my own tent. As someone who occasionally suffers from social fatigue, having my own private space to retreat to at the end of the day was invaluable. It also enabled me to have the space and privacy to fully strip down after a day of hiking and take a full sponge-bath to get clean. On top of that, no one wants to smell me at the end of a 7 day hiking trip and I don’t want to smell anyone else either. I 100% recommend getting a single-occupancy tent, unless you’re traveling with a partner, child, or very good friend with whom you’re accustomed to sharing close quarters.

Sleeping Bags/Quilts
Many people ask what temperature rating their sleeping bag should be. This is subjective, because we all sleep differently. Temperature ratings also vary wildly among different brands and types of bags and are not consistent across the industry. I brought a 0 Degree Jacks R Better quilt and I was sufficiently warm with this. This is a down quilt from a company that I know and trust, a company that uses TRUE comfort ratings on their products (not survival ratings). Some people on my trip had -20 degree sleeping bags. For the type of weather we had, I feel this was probably overkill, but you do not want to be cold out there.
Gear Rentals
The night before my group began our trek, our lead guide came around to every person’s hotel room and went through our gear with us. If there was something you were missing, or something he felt was inadequate, he would tell you and make a recommendation. Then, the next morning before heading to the mountain, we made a pit-stop at a gear rental shop. People were able to rent ski jackets and pants, warmer sleeping bags, etc. I did not end up renting any gear as my guide loaned me the ski jacket and ski gloves that he insisted I take, but many in my group did rent equipment here to use and were satisfied with the experience. If you do not already have some of the more expensive gear items, I would recommend just renting once you get there vs. dishing out hundreds or thousands of dollars on gear you may only use this one time.

Water Bottles
You’ll notice I brought a variety of water bottles. I had the ability to carry 2.5 liters of water and I found this to be sufficient. I brought a hard-sided 1L Nalgene that could also be used as a hot water bottle if I needed additional warmth in my quilt at night. I also brought a 1L soft CNOC Vesica that was compatible with my hydration kit — I use this system instead of a traditional water bladder because I can’t stand the taste of bladders. A bladder would be an alternative to this system, but you should still bring a hard bottle to use for hot water if needed. The guides seemed to prefer bottles to bladders for ease of filling and handling. Also note, the tubing on your bladder will freeze on summit night, so you need to have a backup. My tubing froze despite starting the trek with hot water in the Vesica bottle, having the bottle inside a sock, having a neoprene insulating sleeve on my tube, and blowing water out of the tube after each sip.

Additionally, I carried a small 500mL Nalgene that I could use for mixing electrolytes. This bottle also fits in the water bottle pockets built into my pack straps so it is easy access at all times. One thing to be aware of is that Kilimanjaro National Park does not allow disposable plastic on the mountain in any form, so you cannot bring disposable water bottles, even though in this case you are re-using them. Bring reusable bottles and don’t risk your water bottles getting confiscated at the gate.
Field note: No matter what anyone on any forum or website tells you, you do NOT need to bring a water filter. This was a totally useless piece of gear that I carried up and down the mountain and I never used not even once. Your porters will collect water from springs along the way and filter and boil it for you. There is absolutely no need to bring additional water treatment or filtration.
Miscellaneous Gear
In addition to gear specifically for hiking and camping, I brought a few additional things that I think were important.
Power/Charging
Airlines place limits on the size of portable battery packs that can be carried per traveler. You can carry (1) portable battery pack up to 100kwh or (2) battery backs up to a combined total of 160kwh. This translates to roughly (2) battery packs up to 27,000mAh, and these must be packed in a carry-on, not in your checked luggage. I brought two battery packs: one Anker Powercore 20000 and one generic 26,800mAh Power bank. These two power banks gave me sufficient power to charge my iPhone and AirPods throughout the entire 7-day trip.
If you will be spending any time in a hotel before or after your trip and wish to charge your devices, you will need a three-pronged UK plug converter. The hotel we stayed at both before and after our trip had luggage storage, so this, along with clothing and supplies I was not taking on the mountain, stayed behind.

Bathing/Hygiene/Medications
I brought disposable bath wipes that are infused with rinse-free soap. Using these, along with the bowls of hot water provided at the beginning and end of each day, I was able to stay remarkably clean for the duration of the trip.
If you use a compressed-air inhaler for any reason, please be aware that not only may your inhaler decompress at high altitude, but it will also freeze. As a backup in case my inhaler malfunctioned, I brought a portable nebulizer. Also, make sure that when traveling you always pack medications in your carry-on bag so that you have access to them in the event of luggage delays or loss.

Food
Food was something that gave me a lot of anxiety leading up to the trip, but I need not have worried. We ate SO well on this trip. Each day on the mountain we were served a hot breakfast and dinner, and for lunch we either had a hot lunch or were sent with bag lunches from camp. The food was all absolutely wonderful. Y’all, I was blown away at how good it was and the variety and quality of meals the cooks were able to provide while on the mountain. They were also great about accommodating dietary restrictions and requests.
From home I brought typical hiking snacks that I know I like to eat: fruit snacks and gummies, cheese-its, dried fruit, meat sticks, etc. I kept these in my duffel and only got out what I needed for each day to put in my day pack. The cooks often provided juice boxes, fresh fruit, and cookies for snacks as well. Bring a few food items along that you enjoy while hiking and don’t worry about the rest. You will not go hungry, I assure you.


All things said and done
I was very happy with my gear choices and, aside from leaving the water filter at home I wouldn’t have changed anything. I was comfortable, warm, and slept well the entire trip. While I probably could have gotten by with a smaller (daypack sized) pack, my Six Moons Designs pack was comfortable and held everything I needed while also providing easy access to snacks and water, things my day pack is lacking on. It was also big enough to carry all the additional layers I needed on summit night.
The biggest consideration for YOU is going to be what will keep you comfortable? You know your sleeping style, how warm or cool you sleep, etc. Bring what you need to get a good night’s rest and to hike comfortably throughout the day. These things are critical to your success at summiting!


Leave a comment